
Struggling with Fiber Laser Power Settings? Fix Your Metal Marks Now
In the world of precision manufacturing, a laser engraving machine is only as capable as the technician operating it. While many manufacturers provide a “baseline” set of parameters, achieving high-contrast marking or deep engraving requires a granular understanding of how photons interact with different metallic lattices. Adjusting your fiber laser power settings is not a matter of simply increasing wattage; it is a delicate balancing act between energy density, thermal conductivity, and pulse frequency.
Whether you are aiming for a non-destructive black anneal on medical-grade stainless steel or trying to prevent back-reflection when processing highly reflective brass, the logic remains the same: you must control the Heat Affected Zone (HAZ). This guide breaks down the physical requirements for the three most common industrial metals, providing a roadmap for optimizing your workflow and extending the life of your equipment.
Table of Contents
Stainless Steel: Mastering Surface Oxidation and Annealing
Stainless steel is perhaps the most versatile material for a laser engraving machine, but it is also the most prone to user error regarding corrosion resistance. When optimizing fiber laser power settings for this material, the goal is often “black marking” without penetrating the chromium oxide layer.
Achieving High-Contrast Black Marking
To achieve a deep, permanent black, you must utilize the annealing process. This requires a fiber laser power settings for stainless steel black marking strategy that prioritizes high frequency and low scanning speed. By keeping the pulse energy low but the overlap high, you heat the surface just enough to induce controlled oxidation. This creates a dark, smooth finish that does not feel rough to the touch.
Technical Insight: According to research by IPG Photonics, excessive power on stainless steel can lead to “carbonization,” which destroys the anti-corrosion properties of the alloy. Always aim for the lowest power possible that still achieves the desired optical density.
Aluminum: Managing Thermal Conductivity for High Contrast
Aluminum presents a different challenge due to its exceptional thermal conductivity. It dissipates heat so quickly that standard fiber laser power settings often result in a dull, grey mark rather than the crisp white or deep black desired by high-end brands.
The Secret to “Bright White” Marks
For the best fiber laser settings for aluminum deep engraving, you need to break through the natural aluminum oxide layer quickly. High frequency combined with high speed allows the laser to “bleach” the surface, creating a microscopic roughness that reflects light as pure white. If the marking looks scorched, your speed is likely too low, allowing heat to soak into the surrounding material.
If your goal is deep relief, you must implement a “Cleaning Pass” within your laser engraving machine parameters. This involves a secondary sweep with low power and high speed to remove the molten debris (slag) that accumulates at the bottom of the engraving trench.
Brass and Copper: Navigating the Reflection Risk
Processing yellow metals is the “advanced mode” of laser operation. These materials are highly reflective, and if you use incorrect fiber laser power settings, the beam can bounce back into the fiber delivery system, causing catastrophic damage to the isolator.
Protecting Your Equipment
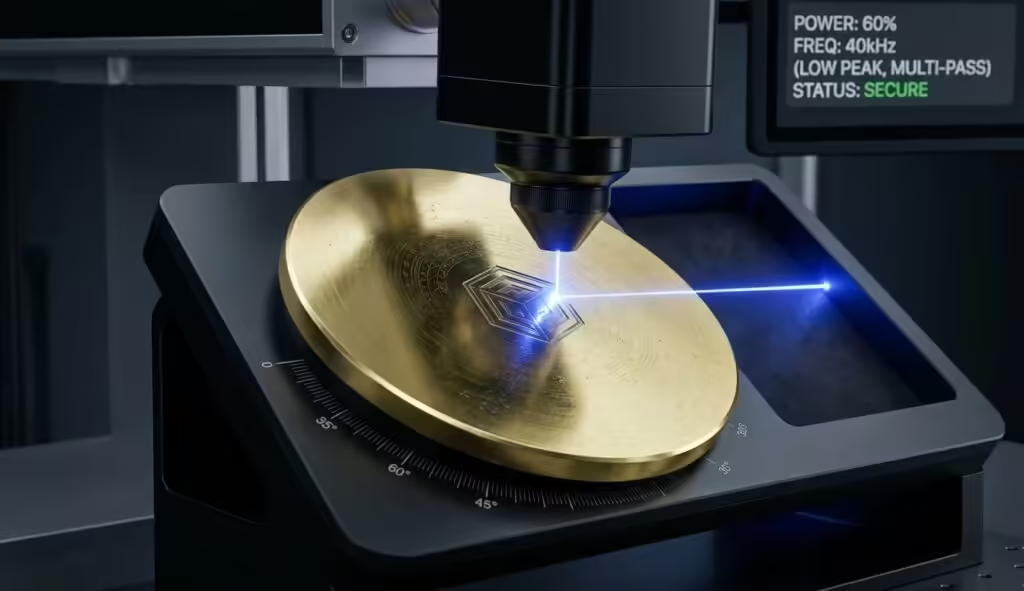
When optimizing laser engraving machine for reflective metals, the first rule is to avoid 90-degree vertical alignment. Tilting the workpiece by just 3 to 5 degrees can redirect the reflected beam away from the optics. Regarding the pulse, you should focus on how to laser engrave brass without reflection damage by using a high frequency to keep the peak power of each individual pulse manageable, while increasing the number of passes to reach the desired depth.
Technical Parameter Matrix: Metal Engraving Standards
To simplify your setup, the following fiber laser settings chart for different metals provides a tested starting point for a 30W or 50W source. Note that these should be adjusted in 5% increments based on your specific machine’s beam quality (M² factor).
| Material | Target Effect | Power (%) | Frequency (kHz) | Speed (mm/s) | Hatching (mm) |
| Stainless Steel | Black Anneal | 30 – 35 | 40 – 60 | 200 – 400 | 0.005 |
| Stainless Steel | Deep Engrave | 70 – 90 | 20 – 30 | 500 – 800 | 0.05 |
| Aluminum | Bright White | 40 – 50 | 50 – 80 | 1200 – 1800 | 0.07 |
| Aluminum | Deep Relief | 80 – 100 | 20 – 40 | 600 – 1000 | 0.03 |
| Brass | Standard Mark | 60 – 80 | 30 – 50 | 800 – 1200 | 0.04 |
| Brass | Deep Relief | 90 – 100 | 20 – 30 | 300 – 500 | 0.02 |
Beyond Power: The Influence of Frequency and Pulse Width
A common mistake is focusing solely on the wattage. However, fiber laser frequency and pulse width are arguably more important for fine-tuning the finish.
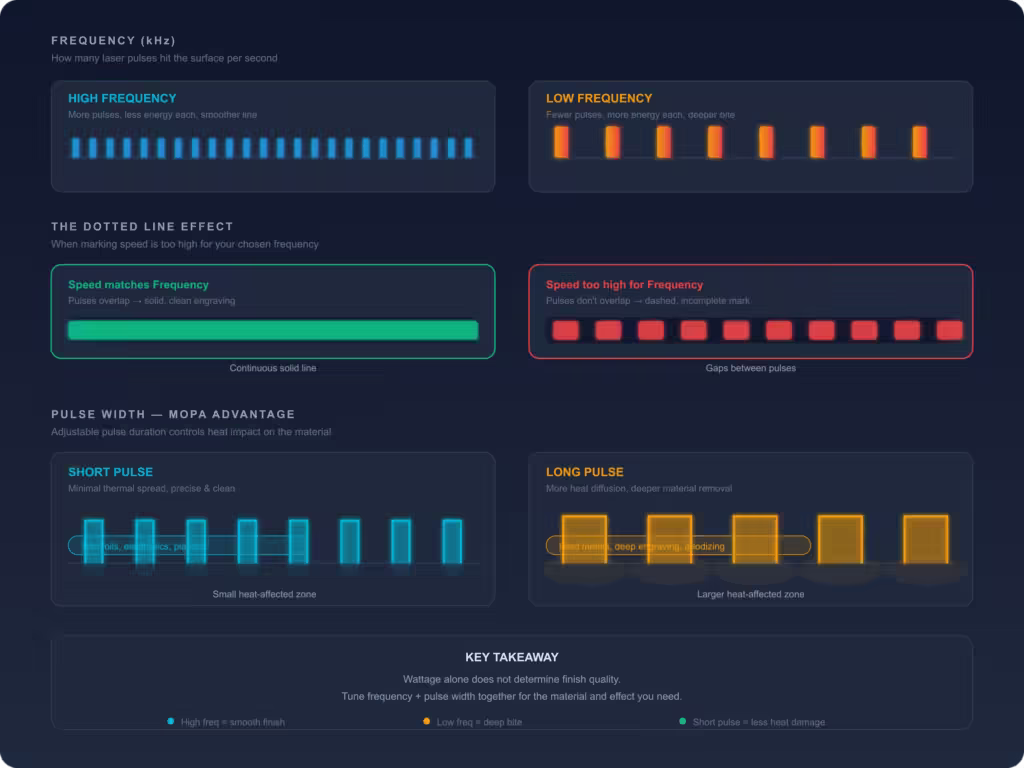
Frequency (measured in kHz) determines how many laser pulses are delivered per second. High frequency means less energy per pulse but a smoother continuous line. Low frequency increases the energy per pulse, which is necessary for the initial “bite” into harder or more reflective materials. If your fiber laser marking speed is too high for your selected frequency, you will see a “dotted line” effect rather than a solid engraving.
For those using MOPA (Master Oscillator Power Amplifier) sources, you have the added luxury of adjusting pulse width. Shorter pulses minimize the thermal impact, which is essential for thin foils or delicate electronics where heat-related warping is a concern.
Advanced Hatching and Cleaning Strategies
In any metal engraving settings guide, the “Hatch” is the secret weapon for texture. Hatching refers to the pattern the laser follows to fill a shape. For deep engraving, a cross-hatch (0° and 90°) is mandatory to ensure a flat bottom.
If you notice a yellowish tint on your brass or a “burnt” smell, your fiber laser power settings might be creating too much plasma. Reducing the line spacing (making the hatch tighter) while increasing the speed can often resolve this, as it allows for a more uniform removal of material without overheating the substrate.
Conclusion
The transition from a beginner to an expert in the laser industry is defined by how one manages fiber laser power settings. By treating every job as a unique interaction between light and matter, you ensure that your laser engraving machine remains a high-precision tool rather than a source of frustration.
Always document your successes and failures. A minor adjustment in frequency or a 2% shift in power can be the difference between a rejected part and a masterpiece. For professional-grade equipment that offers the stability needed for these precise adjustments, explore our latest range of Industrial Laser Systems.
FAQ
Why is my engraving uneven across the metal surface?
Usually, this isn’t about your fiber laser power settings, but your focal height. Ensure the material is perfectly level and the “F-Theta” lens is clean. Even 1mm of deviation can ruin the energy density.
Can I use the same settings for different thicknesses of the same metal?
Generally, yes, for surface marking. However, for deep engraving, thinner metals require more frequent “cool-down” periods or lower duty cycles to prevent thermal deformation.
Why does my brass engraving look blurry?
Brass is a high-heat conductor. If your fiber laser marking speed is too slow, the heat bleeds into the edges of the mark. Increase speed and use more passes.